Simi-Gloss Black Primer and Topcoat Spray Paint⁚ A Comprehensive Guide
This guide provides a detailed walkthrough for applying semi-gloss black primer and topcoat spray paint. Learn about surface preparation, primer selection, topcoat matching, spray techniques, drying times, safety precautions, and achieving professional results for a flawless finish on various surfaces, including metal, wood, and plastic; Remember to always follow manufacturer instructions for optimal results.
Surface Preparation⁚ The Foundation for a Perfect Finish
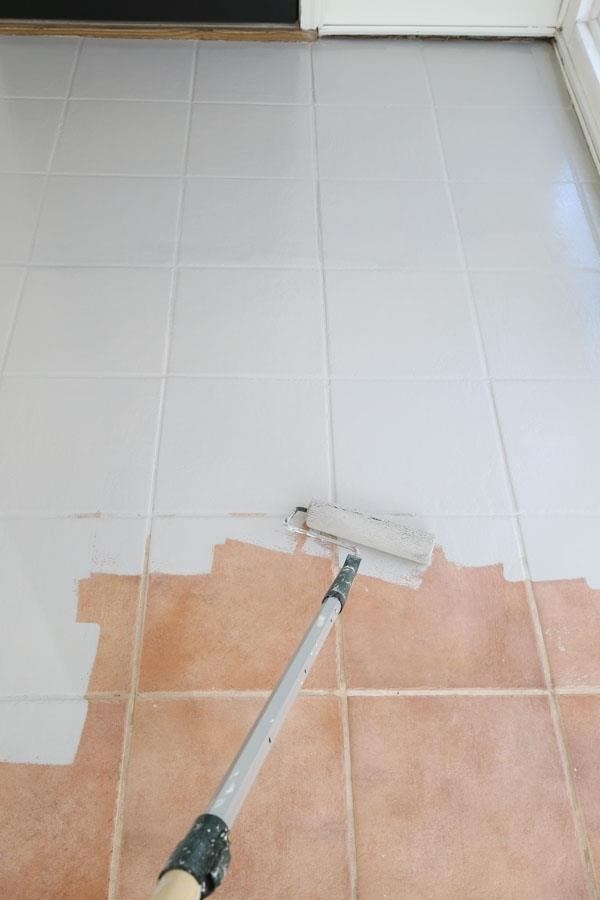
Proper surface preparation is paramount for achieving a durable and aesthetically pleasing finish when using semi-gloss black primer and topcoat spray paint. Begin by thoroughly cleaning the surface to remove any dirt, grease, dust, or loose particles. A degreaser or appropriate cleaning solvent can be employed for optimal results. For surfaces exhibiting rust, use a wire brush or sandpaper to remove the rust completely. This step is crucial to ensure proper adhesion of the primer and prevent future rust formation. After cleaning, allow the surface to dry completely before proceeding. If the surface is particularly rough or uneven, consider sanding it with fine-grit sandpaper to create a smooth base for better paint adhesion. Remember that a well-prepared surface is the key to a professional-looking final coat.
Primer Application⁚ Ensuring Optimal Adhesion and Coverage
Applying the primer correctly is crucial for achieving a smooth, even base for your topcoat. Before application, shake the primer can vigorously for at least one minute to ensure thorough mixing of the contents. Hold the can approximately 10-12 inches from the surface, maintaining a consistent distance throughout the process. Apply thin, even coats, using a back-and-forth motion with slight overlaps to avoid streaks or runs. Avoid heavy application, as this can lead to drips and an uneven finish. Multiple thin coats are preferable to one thick coat. Allow each coat of primer to dry completely before applying the next. The drying time will vary depending on the type of primer and environmental conditions, so always refer to the manufacturer’s instructions. Once the primer is completely dry, inspect the surface for any imperfections and lightly sand them smooth before applying the topcoat. Proper primer application is essential for optimal adhesion and coverage of the topcoat, leading to a professional-looking final result.
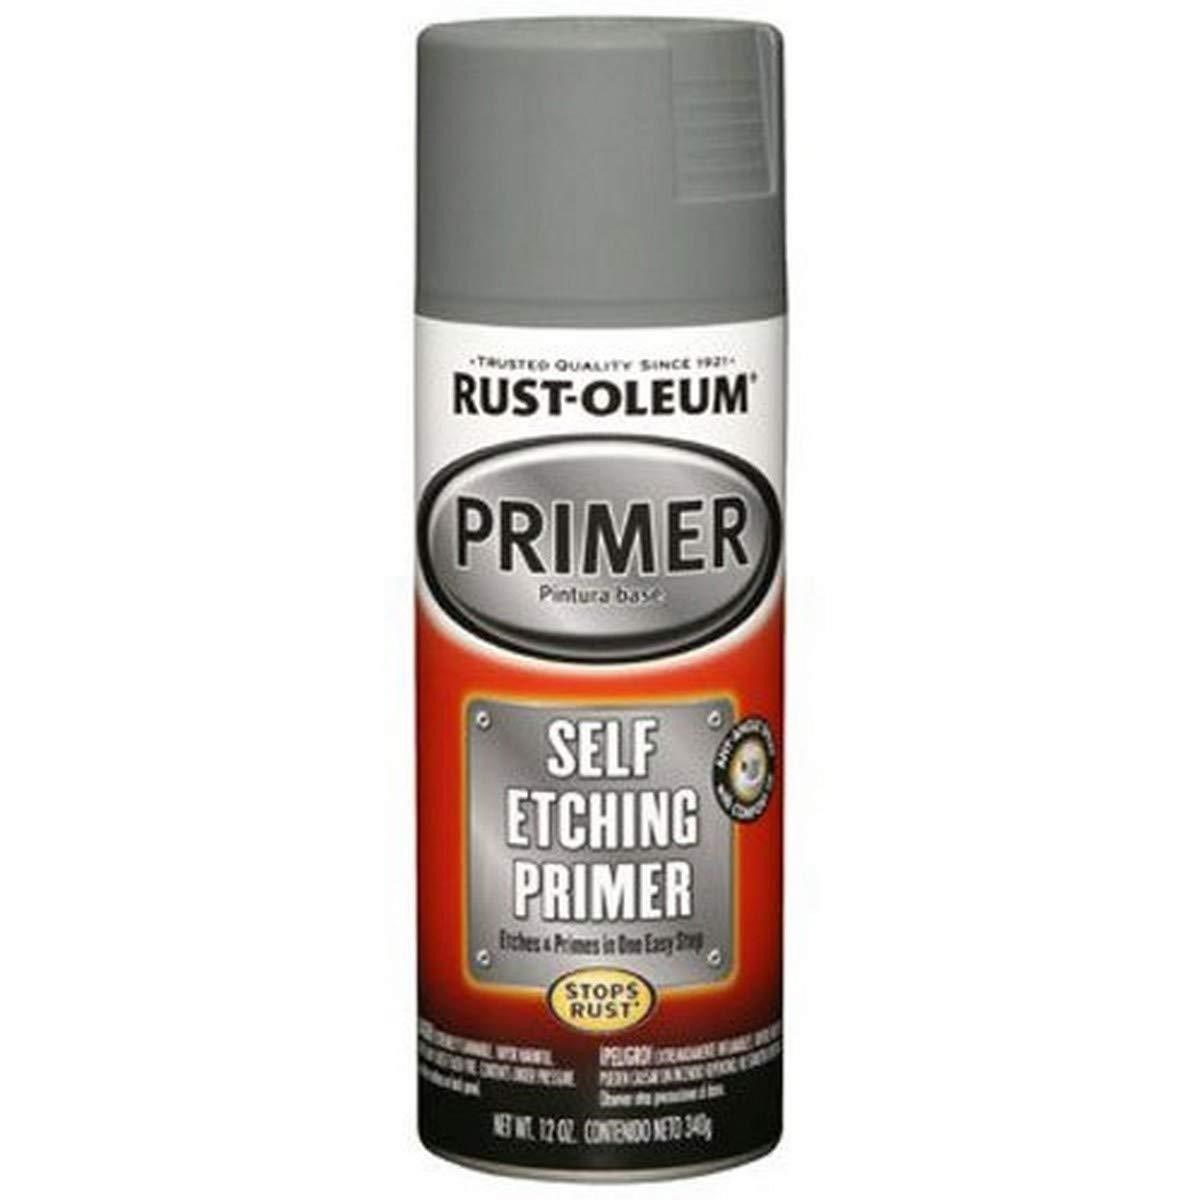
Choosing the Right Primer⁚ Types and Considerations
Selecting the appropriate primer is paramount for achieving a durable and aesthetically pleasing finish. Several types of primers cater to different needs and substrates. For instance, oil-based primers offer superior rust inhibition and are ideal for metal surfaces prone to corrosion, while acrylic primers provide excellent adhesion to a wide range of materials, including wood and plastic. Consider the substrate you’re working with; the porosity and surface characteristics will influence the primer’s effectiveness. If working with bare metal, a specialized metal primer is recommended to prevent rust formation. For porous surfaces like wood, a stain-blocking primer will prevent bleed-through. The sheen of the primer can also affect the final result; a high-gloss primer can produce a glossier topcoat, while a flat primer is more suitable for matte finishes. Always check the primer’s compatibility with your chosen topcoat to ensure proper adhesion and avoid any negative reactions. Carefully reviewing the product label and considering these factors will help you choose the ideal primer for your project.
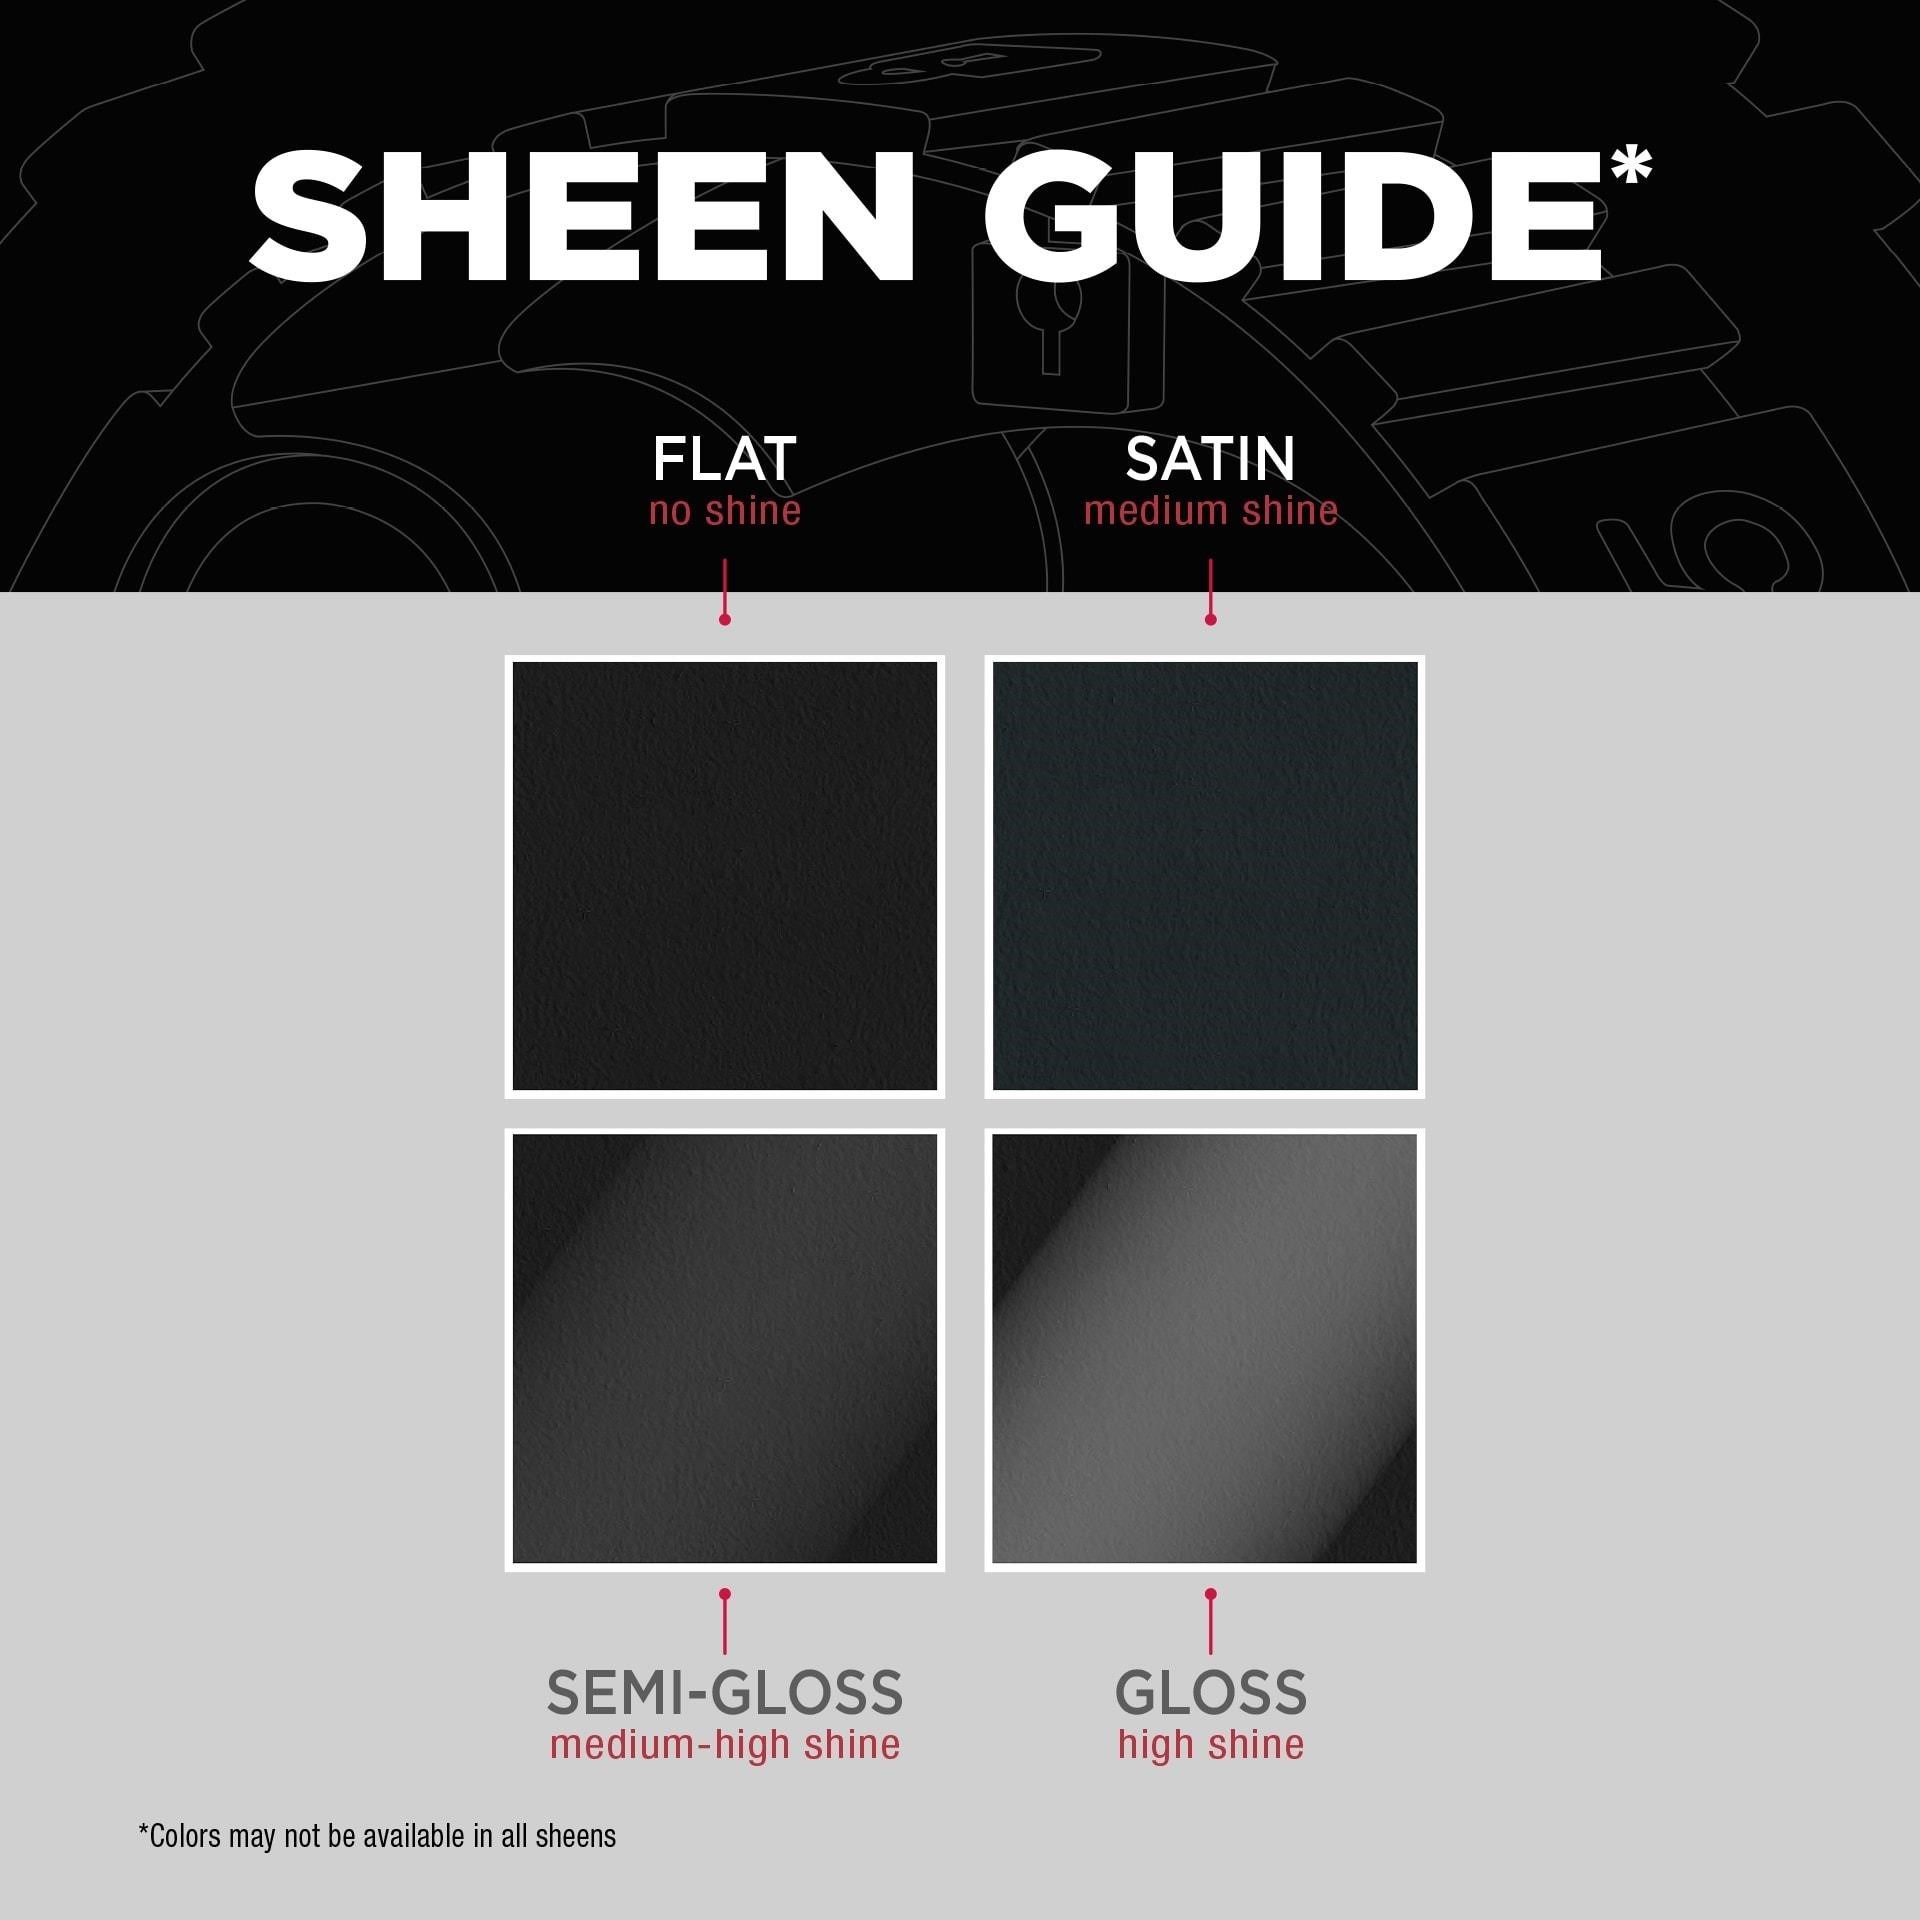
Topcoat Selection⁚ Matching Sheen and Durability
The choice of topcoat significantly impacts the final appearance and longevity of your paint job. Semi-gloss black offers a balance between shine and durability, making it a popular choice for various applications. However, the specific formulation of the topcoat paint is equally crucial. Acrylic-based paints generally provide excellent color retention and UV resistance, while oil-based paints might offer superior durability, but often require longer drying times and may yellow over time. Consider the intended use of the painted item; high-traffic areas might benefit from a more durable, possibly higher-gloss, topcoat. If the object is frequently exposed to harsh weather conditions, select a topcoat with enhanced UV protection and weather resistance. The sheen of the topcoat should complement the overall aesthetic vision. The available sheens range from matte to high-gloss, each influencing the final look. Matching the sheen to the project’s purpose and the surrounding environment will ensure a cohesive and visually appealing outcome. Always read the product information carefully to understand the specific properties of your chosen topcoat before beginning the painting process.
Spray Application Techniques⁚ Achieving an Even Coat
Proper spray application is paramount for achieving a smooth, even coat free of runs, drips, or an uneven finish. Begin by holding the spray can approximately 8-12 inches from the surface. Maintaining a consistent distance is key to ensuring uniform paint distribution. Employ a smooth, even back-and-forth motion, slightly overlapping each stroke to prevent visible lines or streaks. Avoid lingering in one area, as this can lead to excessive paint buildup. Apply multiple thin coats rather than one thick coat. This allows each layer to dry properly, preventing runs and ensuring optimal adhesion. Remember to start and end each stroke slightly off the object to avoid paint buildup at the beginning and end of each pass. For hard-to-reach areas, consider using an any-angle spray feature if your paint can offers it. Always work in a well-ventilated area, and consider using a respirator to protect your lungs from paint fumes. Practice on a scrap piece of material before applying the paint to your final project to become familiar with your spray technique and the paint’s consistency.
Maintaining Consistent Spray Distance⁚ Key to Uniformity
Maintaining a consistent distance between the spray can and the surface being painted is crucial for achieving a uniform finish. Inconsistent distance often results in variations in paint thickness, leading to an uneven appearance with areas of heavy buildup and others appearing thin or patchy. The recommended distance typically ranges from 8 to 12 inches, but always refer to the manufacturer’s instructions on the specific spray paint can you are using as this can vary. Practice maintaining this distance throughout the entire painting process. Imagine a straight line between the spray nozzle and the surface; try to keep that line constant and perpendicular to the surface during your spraying motions. Using a steady hand and consistent arm movement will help. A helpful technique is to visualize a target area on the surface and focus on keeping the nozzle consistently positioned relative to that target. Consider using a guide or a measuring tool to practice maintaining consistent distance, especially if you are new to spray painting. This consistent spray distance ensures uniform coverage and minimizes the need for additional coats to correct inconsistencies.
Overlapping Strokes⁚ Preventing Streaks and Unevenness
Overlapping strokes are essential for achieving a smooth, even coat and preventing unsightly streaks or uneven paint distribution. When spraying, each stroke should slightly overlap the previous one, creating a continuous flow of paint. The degree of overlap will depend on the width of the spray pattern and the type of paint being used, but a 50% overlap is generally a good starting point. Avoid stopping the spray in the middle of a stroke, as this can lead to noticeable lines of heavier paint buildup. Instead, begin each stroke slightly before the previous one ended and carry it slightly beyond the area already covered. Think of it like mowing a lawn; smooth, consistent overlapping ensures even coverage. Maintain a steady, consistent speed throughout the spraying motion. Too slow a speed can cause paint buildup, while too fast a speed may leave the surface looking thin and patchy. Practice on a scrap piece of the same material you’re painting to perfect your technique before starting on your project. Remember that light, even coats are better than heavy ones and allow sufficient drying time between coats to prevent runs or unevenness. With practice, overlapping strokes will become second nature, resulting in a professional-looking finish.
Drying and Recoat Times⁚ Understanding the Process
Understanding drying and recoat times is crucial for achieving a durable and even finish. These times vary depending on factors such as temperature, humidity, paint type, and film thickness. Always refer to the manufacturer’s instructions on the specific paint can for precise drying and recoating guidelines. Generally, spray paint requires several hours to dry to the touch, allowing for handling without smudging. However, complete curing, where the paint achieves full hardness and chemical resistance, typically takes much longer, often 24 hours or more. Applying a subsequent coat too soon can lead to lifting or wrinkling of the previous coat. Conversely, waiting too long can result in poor adhesion between the layers. If recoating within a shorter timeframe, ensure the previous layer is completely dry to the touch and free of any tackiness. In cooler temperatures or higher humidity, drying times will generally be longer. Conversely, warmer, drier conditions will accelerate drying. Always allow ample drying time between coats to ensure optimal adhesion and a high-quality finish, preventing issues like peeling or cracking in the future. Patience is key to a professional-looking outcome.
Environmental Factors⁚ Temperature and Humidity Influence
Environmental conditions significantly impact spray paint application and drying. Temperature and humidity play crucial roles in the paint’s drying time, adhesion, and overall finish quality. Ideal temperatures for spray painting generally fall within a moderate range, avoiding extremes of heat or cold. High temperatures can cause the paint to dry too quickly, leading to unevenness and possibly a rough texture. Conversely, low temperatures slow down the drying process, increasing the risk of dust or debris settling onto the wet paint. Humidity also plays a critical role. High humidity levels extend drying times, potentially resulting in a longer curing process and increased vulnerability to defects. Low humidity, on the other hand, can lead to rapid evaporation, potentially creating a less uniform finish. The best results are usually achieved on days with moderate temperatures and humidity levels. Always check the weather forecast before starting a painting project. Adjust your technique and allow for extended drying times if conditions are not optimal. Consider using a humidity gauge and thermometer to monitor the environment and make informed decisions during the painting process. Proper environmental control contributes to a professional, long-lasting finish.
Troubleshooting Common Issues⁚ Addressing Imperfections
Despite careful preparation and application, imperfections can sometimes occur during spray painting. Runs or drips often result from applying paint too thickly or holding the can too close to the surface. Thinning the paint slightly or increasing the spray distance can help prevent this. Uneven coverage might be due to inconsistent spray distance or insufficient overlapping of strokes. Maintaining a constant distance and using smooth, overlapping strokes is key to achieving a uniform finish. Orange peel texture, a common issue, often stems from using too much paint or spraying in heavy coats. Applying multiple thin coats allows each layer to dry properly, preventing this textured appearance. Dust nibs or other foreign particles can be minimized by working in a clean environment, using a tack cloth before painting, and allowing sufficient drying time between coats. If imperfections persist after addressing application techniques, light sanding with fine-grit sandpaper can smooth out minor blemishes before reapplying a thin topcoat. Remember, patience is crucial; Addressing issues methodically will lead to improved results.
Safety Precautions⁚ Protecting Yourself and Your Surroundings
Working with spray paints requires prioritizing safety for both yourself and your environment. Always wear appropriate personal protective equipment (PPE), including a respirator mask to prevent inhalation of paint fumes, safety glasses to protect your eyes from overspray, and gloves to avoid skin contact. Well-ventilated areas are essential; spray painting outdoors on a calm day is ideal. If working indoors, ensure excellent ventilation with open windows and fans. Cover surfaces not being painted to prevent accidental damage or staining. Use drop cloths or masking tape to protect surrounding areas. Dispose of used spray cans responsibly according to local regulations; never puncture or incinerate them. Read and follow all safety warnings and instructions provided on the paint can labels. In case of accidental skin or eye contact, immediately flush the affected area with plenty of water and seek medical attention if necessary. Remember, responsible handling of spray paints minimizes risks and protects your health and the environment. Proper preparation and awareness are paramount to safe spray painting.
Cleaning and Storage⁚ Maintaining Your Supplies
Proper cleaning and storage of your spray paint supplies are crucial for extending their lifespan and maintaining their effectiveness. After each use, thoroughly clean spray equipment, such as spray guns or aerosol cans’ nozzles, with the appropriate thinner or solvent recommended by the manufacturer. This prevents clogging and ensures smooth application during subsequent uses. For aerosol cans, ensure the nozzle is free from any dried paint. Store all spray paints in a cool, dry place, away from direct sunlight, extreme temperatures, and sources of ignition. Keep them upright to prevent leakage and maintain consistent pressure. Proper storage helps prevent the paint from thickening or becoming unusable. Avoid storing spray paints near flammable materials. Label containers clearly to easily identify the type of paint and its specific properties. Regularly check your spray paint supplies for any signs of damage or degradation, and dispose of outdated or unusable materials safely and responsibly. Proper care and storage extend the usefulness of your spray paint and keep your workspace organized and efficient.
Achieving Professional Results⁚ Tips and Best Practices
To achieve a truly professional finish with your semi-gloss black primer and topcoat, remember these key best practices. Always begin with meticulous surface preparation. This includes cleaning the surface thoroughly to remove any dirt, grease, or rust. Lightly sanding the surface can create better adhesion for the primer. Apply thin, even coats of primer, allowing adequate drying time between coats. Avoid applying excessive paint in a single application to prevent drips and runs. Maintain a consistent distance between the spray nozzle and the surface to ensure uniform coverage. Overlap each stroke slightly to prevent streaking. For the topcoat, use multiple light coats rather than one heavy coat. Allow ample drying time between coats, following the manufacturer’s recommendations. Work in a well-ventilated area to minimize fumes and ensure proper drying. Consider using a tack cloth between coats to remove any dust particles that may settle on the surface. After the final coat, allow the paint to fully cure before handling the object to prevent marring the finish. With careful preparation and application, you can achieve a stunning, professional result.